Disassembly

This section describes the procedure for disassembling the instrument.

Warning

Only qualified, service-trained personnel who are aware of the hazards involved should remove instrument covers. Always disconnect the power cable and any external circuits before removing the instrument cover. Some circuits are active and have power applied even when the power switch is turned off.

Always disconnect all inputs, cords, and cables before disassembling the instrument.

Warning

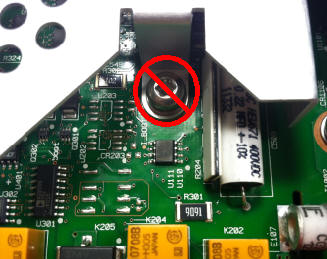
Do not turn the screw that fastens the shield in place, as this will affect the instrument's calibration.

Tools Required

The following tools are required.

General Disassembly Procedure

  1. Turn off the power and remove all measurement leads and other cables, including the power cord, from the instrument before continuing.
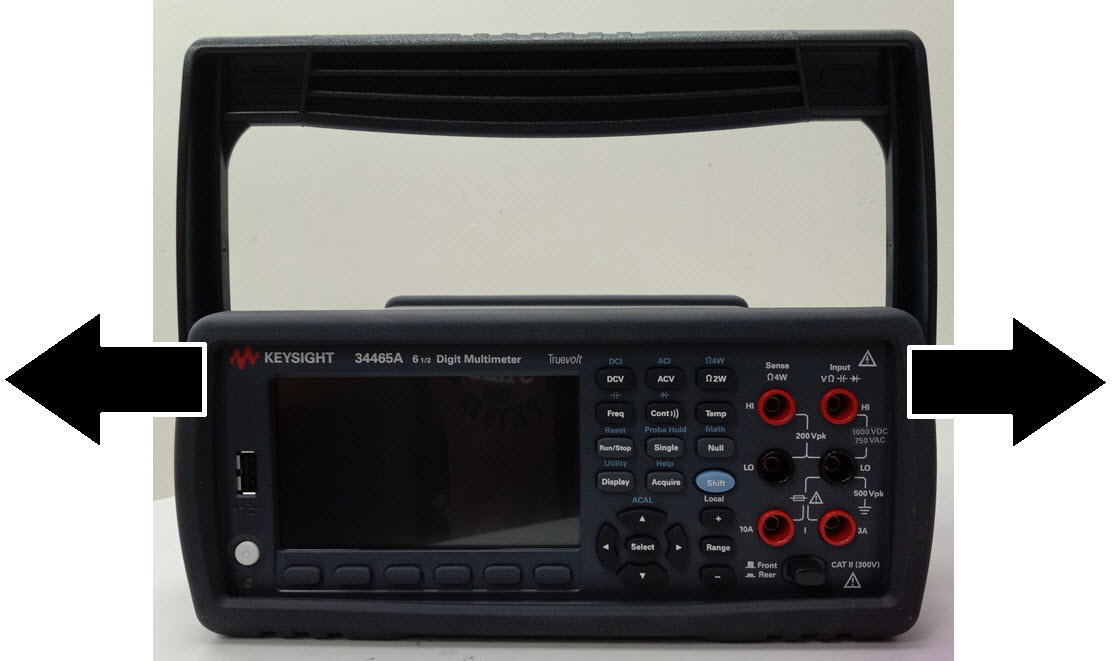
  2. Rotate the handle to the upright position and remove it by pulling outward where it attaches to the case.

  3. Pull off the front rubber bumper.
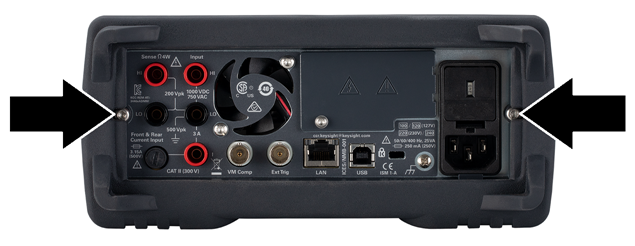
  4. Unscrew the two captive screws in the rear bezel and remove the rear bezel and rubber bumper.

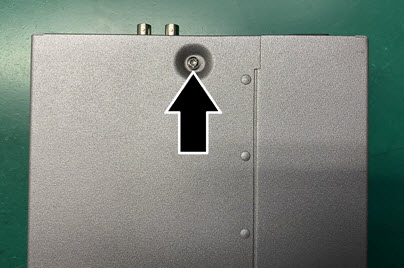
  5. Remove the screw on the bottom of the instrument and place it in a safe location for re-assembly. Slide off the instrument cover.


    At this point, the instrument it sufficiently disassembled for power supply troubleshooting purposes. You could also change the battery or override calibration security at this point. If you need to disassemble the front panel, continue with the steps shown below.

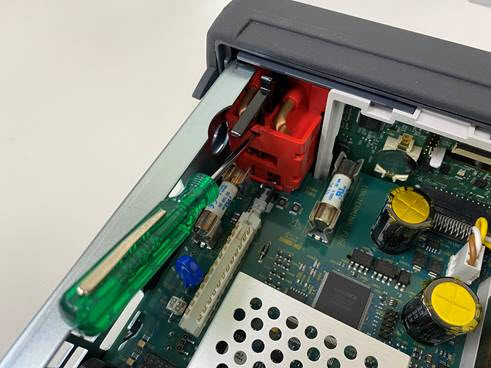
  6. Use the small, flat-blade screwdriver to pry the black latch up and remove it. Note the orientation of the latch for re-assembly purposes.
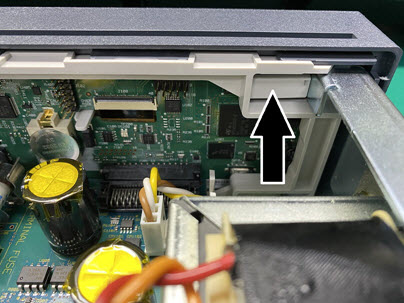
  7. Push in on the lever shown, and squeeze the metal frame of the instrument to release the front panel plastic.
  8. Slide the front panel off.
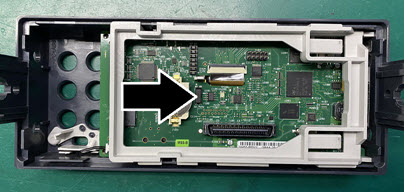
  9. Slide the white plastic backing plate to the right and lift up on the left side of the backing plate to remove it.
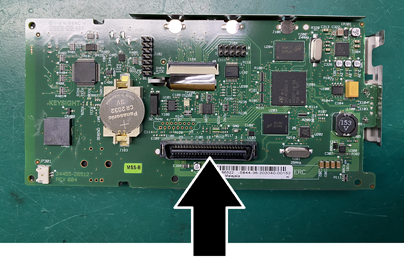
  10. Remove the front panel PCBA by holding the connector housing shown below and lifting it out.
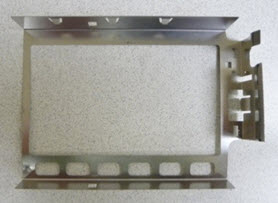
  11. Remove the ESD shield by prying it out gently from the plastic housing to which it attaches.

This concludes the disassembly procedure. To re-assemble the instrument, reverse the procedure.